Open Shelf Kitchen Styling Tips for a Beautiful, Functional Space

Open shelving in the kitchen is both practical and decorative. It makes everyday items accessible while creating an opportunity to showcase your style. But keeping open shelves looking curated rather than cluttered requires a thoughtful approach. Unlike closed cabinetry that hides everything behind doors, open shelves demand discipline — every item must earn its place. Done well, open shelving transforms a kitchen from a purely functional workspace into a warm, inviting heart of the home. In this guide, we will walk through every principle you need to master open shelf styling, from color theory and material selection to lighting and seasonal rotation.
Key Takeaways
- Follow the rule of thirds: one third functional, one third decorative, one third empty space
- Stick to a cohesive 2-3 color palette that complements your kitchen finishes
- Vary heights and textures using stacked books, risers, and mixed materials
- Edit ruthlessly — every item on display must earn its place
1. Follow the Rule of Thirds

The rule of thirds is the most effective guideline for creating balanced open shelves. Mentally divide each shelf into three equal sections. Use one third for functional items such as everyday dinner plates, cereal bowls, or drinking glasses. Dedicate another third to decorative objects like ceramic vases, cookbooks, or a trailing plant. Leave the final third completely empty. This breathing room prevents overcrowding and gives the eye a place to rest.
In practice, this might look like a stack of white dinner plates on the left, a small wooden cutting board leaning vertically in the middle, and open space on the right. For particularly long shelves — 48 inches or more — apply the rule twice, creating six visual zones. The empty spaces are not wasted; they are intentional design elements that make displayed items stand out more. When you first arrange your shelves, step back and take a photo. A flat image helps you spot imbalance you might miss in person.
2. Stick to a Cohesive Color Palette

Color is the thread that ties your open shelves together. Without a deliberate palette, even carefully chosen items can look like random clutter. Limit your display to two or three colors that complement your kitchen's existing cabinetry and countertops. Neutral dinnerware — white, cream, or soft gray — forms an excellent foundation because it recedes visually and lets accent pieces shine. From there, introduce one or two accent colors through ceramics, linens, or small appliances.
For example, in a kitchen with white subway tile and warm oak shelves, a palette of cream, sage green, and matte black creates a cohesive look. If your kitchen leans cool with gray cabinetry, pair crisp white porcelain with pale blue glassware and brushed brass accents. Avoid introducing every color of the rainbow. Restraint within a limited palette is what separates a curated shelf from a souvenir shop. Over time, you will find that a consistent color scheme makes rearranging shelves effortless because every piece already works together.
3. Vary Heights and Textures

Visual monotony is the enemy of beautiful open shelves. If everything sits at the same height, the result feels flat. Use stacked books, raised cake stands, wooden risers, or inverted bowls as pedestals to vary the vertical dimension. A shelf with a tall vase next to a low stack of plates immediately has more energy. Think of each shelf as a miniature skyline — you want peaks and valleys, not a single flat horizon.
Texture is equally important. Mix warm wood cutting boards, woven baskets, matte black metal canisters, glossy glass jars, and soft linen napkins. The interplay between smooth and rough, shiny and matte, hard and soft creates tactile richness. Place a rough-hewn wooden mortar and pestle next to a glossy white ceramic pitcher, or layer a chunky knit dish towel over a basket filled with wooden spoons. When selecting items, include at least three different materials on each shelf. Wood, ceramic, and metal is a reliable combination that works in almost any kitchen.
"Empty space is not wasted — it is a design tool. A shelf with three carefully chosen objects will always look better than one crammed with twenty."
— Open Shelf Principle
4. Group Similar Items

Grouping is the organizational backbone of open shelf styling. Clustered together, similar items read as intentional collections rather than random objects. Stack matching dinner plates in neat piles of four to six. Nestle mixing bowls inside one another. Line up matching glasses in a row or cluster them on a small tray. The visual repetition of identical items creates a pleasing rhythm that feels orderly.
For smaller items prone to looking messy — spice jars, tea bags, measuring spoons — use baskets or ceramic crocks to corral them. Mismatched spice jars become instantly cohesive inside a low woven basket. Stack cookbooks horizontally in groups of two or three rather than standing them upright like files. Horizontal stacks create visual weight and can serve as pedestals for smaller objects placed on top. When grouping, odd numbers tend to look more natural than even pairs — three similar vases or five matching bowls feel more organic.
5. Edit Ruthlessly

Editing is the most critical skill for open shelf styling. Open shelves have no doors to hide behind, so every item is constantly on display. If a piece is chipped, rarely used, or does not spark joy, it does not belong. Take everything off your shelves at least once per season and evaluate each item honestly. Ask yourself: When was the last time I used this? Does it still look good? Does it fit my current color palette? Be ruthless.
Many homeowners make the mistake of filling every inch of shelf space simply because it is there. Resist this urge. Empty space is not wasted; it is a design tool. A shelf with three carefully chosen objects and generous negative space will always look better than one crammed with twenty items. Seasonal rotation keeps your shelves feeling fresh without accumulating permanent clutter. In spring, swap heavy ceramics for light glassware and add a vase of tulips. In fall, bring in warm-toned wooden bowls and dried eucalyptus. Keep a designated box in a cabinet for off-season decor items so they are easy to swap without cluttering your everyday space.
6. Incorporate Greenery

Plants bring life, color, and softness to the hard lines of open shelving. A well-placed trailing pothos cascading over the edge softens the architecture and adds organic movement. Small potted herbs like basil, mint, and rosemary are both beautiful and practical — snip fresh herbs while cooking. Place them on a lower shelf where they are easy to reach and get adequate light. If your kitchen has limited natural light, snake plants, ZZ plants, or philodendrons thrive in indirect conditions.
Fresh flowers in a small bud vase add elegance, while dried eucalyptus or preserved moss spheres last for months with zero maintenance. When placing plants, consider sight lines. Tall plants belong on higher shelves where foliage cascades down. Compact plants work at eye level. Avoid the lowest shelf where they may interfere with countertop workspace. Choose pots that coordinate with your palette — terracotta for warm kitchens, matte black for modern spaces, woven baskets for farmhouse style. A trailing plant paired with a ceramic vase and a stack of books creates one of the most reliably beautiful shelf vignettes.
"Editing is the most critical skill for open shelf styling. Take everything off at least once per season and evaluate each item honestly."
— Styling Tip
7. Lighting Makes a Difference
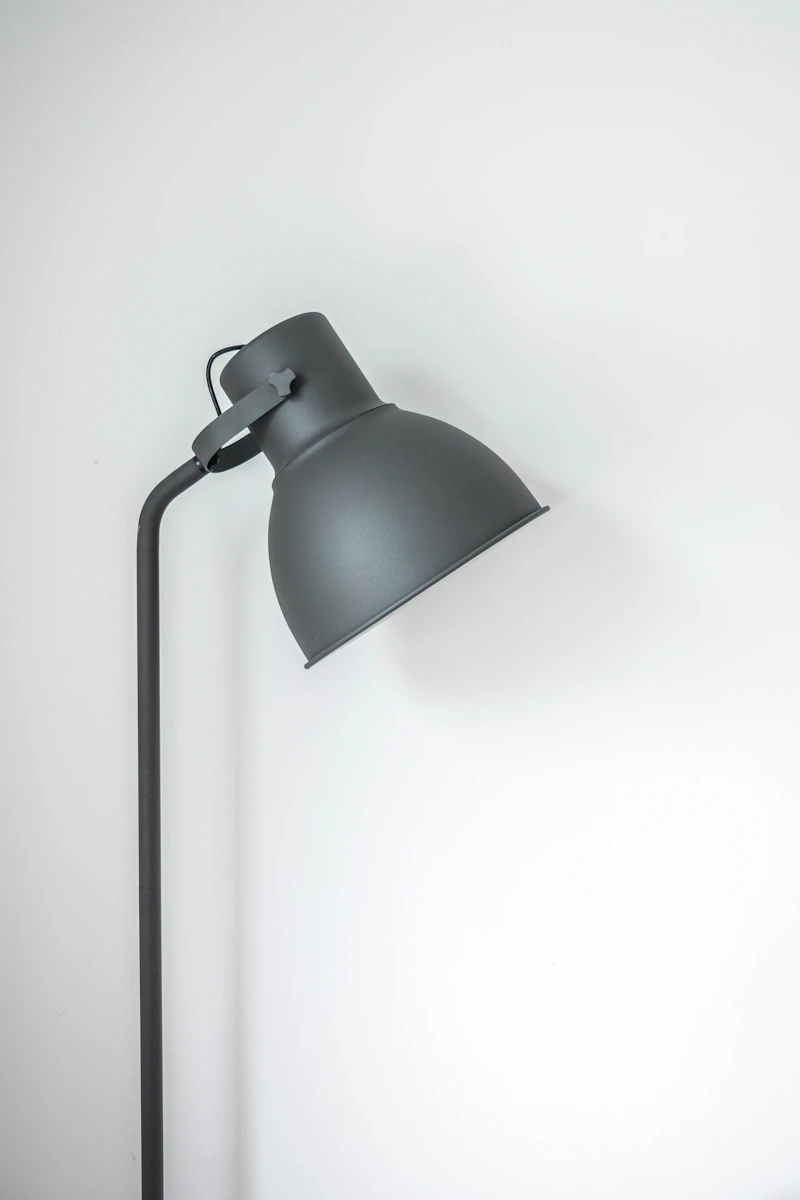
Even the most beautifully styled shelves look flat without proper lighting. Under-shelf lighting is the most effective option. Battery-operated LED puck lights are widely available, easy to install with adhesive backing, and require no electrical work. They cast a warm glow downward onto the items below, highlighting textures and creating depth. For a more permanent solution, hardwired strip lighting with a dimmer switch provides adjustable ambiance.
Position lights toward the front edge of the shelf so they illuminate items rather than the wall behind them. Warm white LEDs (2700K to 3000K) are ideal — they make food and decor look more appealing. Cool white or daylight bulbs feel harsh in a residential kitchen. Accent lighting can also come from a small table lamp on the counter near the shelves, creating a cozy atmosphere overhead lights cannot achieve. Layer your lighting: ambient overhead for general visibility, task light for food prep, and accent light to highlight displays. When well-lit, even simple white dishes take on a rich, sculptural quality.
8. Choose the Right Shelf Material and Hardware

Your shelf material and mounting hardware are design choices that significantly impact the overall look. Floating shelves create a clean, seamless appearance that suits modern kitchens by keeping focus on the objects themselves. Bracketed shelves offer more weight capacity and aesthetic variety. Wrought iron brackets with a matte black finish pair beautifully with warm wood in farmhouse or industrial kitchens, while brass or nickel brackets complement traditional spaces.
For shelf material, solid wood is the most popular choice. White oak has a clean, blond look for Scandinavian and modern kitchens. Walnut offers rich, dark warmth for traditional or mid-century spaces. Reclaimed pine with knot holes suits farmhouse and rustic styles. If you prefer painted shelves, medium-density fiberboard can be custom-colored to match cabinetry. Avoid glass shelves in kitchens — they show every fingerprint and are prone to breaking under heavy dish weight. Whatever material you choose, install shelves into wall studs or use heavy-duty toggle bolts rated for at least 50 pounds per shelf. A loaded shelf of dinnerware is surprisingly heavy, and a catastrophic collapse is the last thing you want.
9. Zone Your Shelves by Use

Thoughtful zoning makes open shelves genuinely functional, not just beautiful. Organize shelves by how and where you use things rather than purely by appearance. Designate one zone for daily dining — plates, bowls, and glasses you use every day — on a middle shelf near the dishwasher. A second zone for food preparation — mixing bowls, measuring cups, cutting boards — works best near your countertop work area. A third zone for cookbooks, serving platters, and decorative items works well on higher shelves.
If you have upper and lower shelves, keep heavy frequently used items like Dutch ovens below and lighter decorative pieces above. Zoning prevents the frustration of hunting for the right bowl mid-recipe. Involving household members in the zone system helps everyone return items to the correct spot, keeping shelves organized day after day. The most successful open shelf kitchens balance beauty with genuine convenience. If you have to climb on a counter to reach your coffee mugs, your zoning needs adjustment.
Final Thoughts

Open shelves are an opportunity to express your style while keeping your kitchen organized. With intentional editing, thoughtful arrangement, the right materials, and proper lighting, they can become the highlight of your space. Start with one shelf at a time using the rule of thirds, edit ruthlessly, and do not be afraid to rearrange until it feels right. The beauty of open shelves is that they are never permanent — you can evolve your display with the seasons, your cooking habits, and your changing tastes. A well-styled open shelf kitchen is a joy to cook in and a pleasure to show off. Take your time, curate carefully, and let your shelves tell the story of how you live and cook.